Joppa Iron Works A Fracture in History

March 5, 2012

Thank you to all of the little people…

Filed under: Uncategorized — mike @ 8:10 pm

I recently picked up a Jordan Bus model at MB Klein‘s in Cockeysville – I have been going there for 28 years and has been a decent hobby shop. This was my first Jordan model and plan to airbrush it after it is finished – shouldn’t be too hard since I’m careful with masking.

Anyway, a while back I purchased 1/100 scale figures on eBay that I have used for places where my citizens are more than 2 feet from the front of the layout. They are convincing and at the price I paid I can have a whole city of them for a few bucks unlike the more popular figures from Preiser and others.

Since I had a number of seated figures, this was the right time to use them in my Jordan Bus model. As you see from the pictures below, they fit just fine – and better than a normal HO scale figure would fit. On the first few pics I show assembly of the model, then adding people. The latter pictures show a comparison of the relative sizes of HO scale people versus the 1/100th scale figures – and I have to say that I am all about the smaller people!

My eyes are getting old for this and my hands are a little big for the pieces, but the interior is underway:


Here they are all seated. I added two more standees after this pic was snapped….


Here is the bus with the standees and the body setting on it:


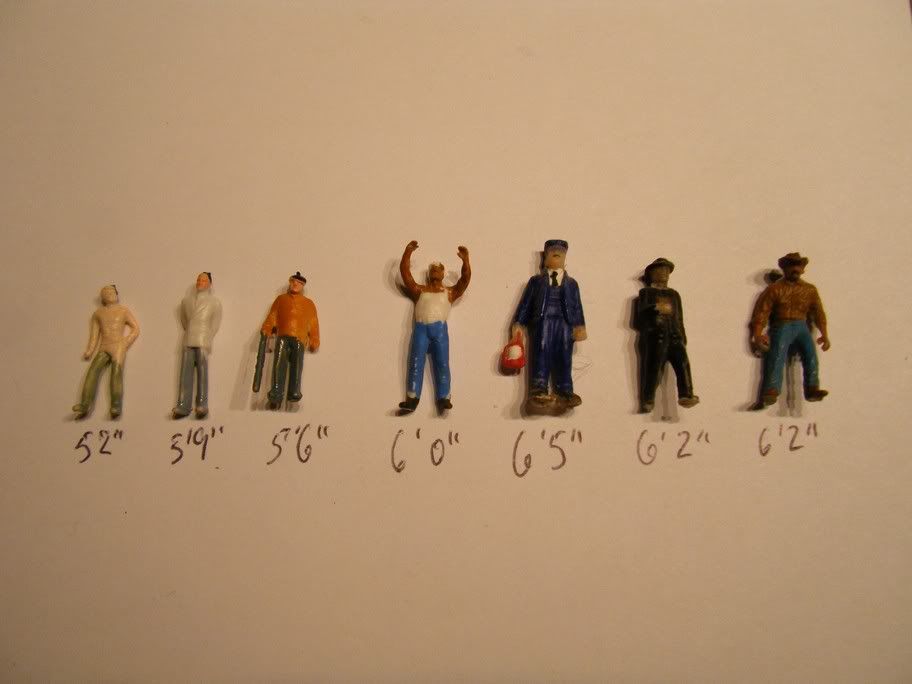
Here is a shot of several people on the right that are sold as HO and their scale heights and the 1/100th scale people on the left that are a little better fitting into the bus: (that fellow with the lantern must be at least 300lbs!)
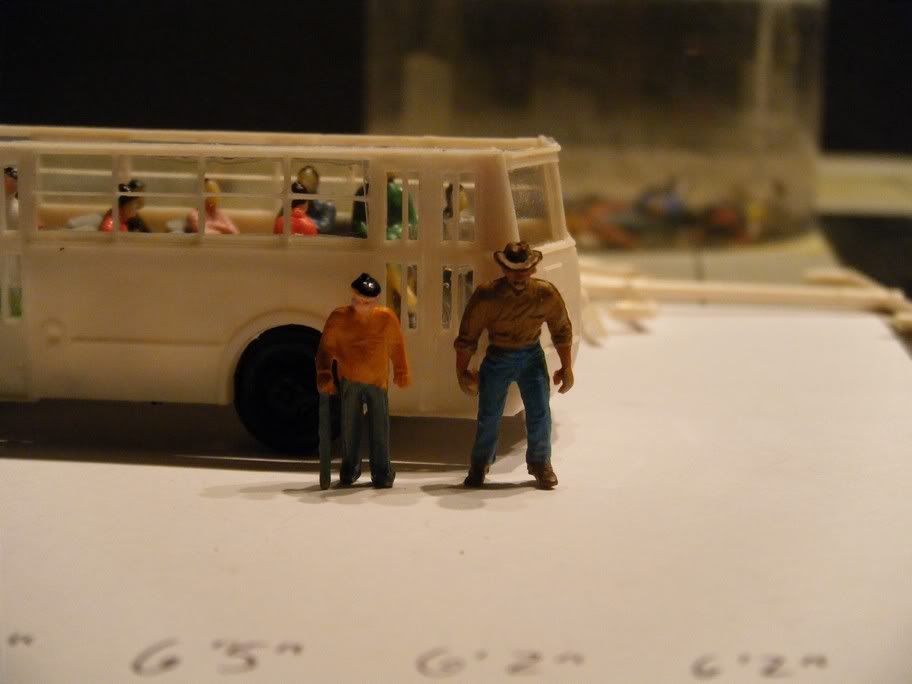
Here is a shot of them standing near the bus. I vote for 1/100th scale people!
March 3, 2012

Weathering Creatology Foam Roads

Filed under: Uncategorized — mike @ 10:21 pm

Up to now I have been a big proponent of this method for making roads, but have had few chances to actually weather the stuff beyond a few selected places on my railroad. Rather than just blow off hot air, this time I am going to show the process.

So with no further ado, I chose a section that needed weathering (beyond dust) and documented what I did with my handy camera- usually I shoot later and regret it, but decided to document it here. This is the beginning shot of the area – it is on the side of the railroad that you see when you enter the train room. As I am still detailing, there are no crossing signals yet and more detail is needed, but you’ll get the drift.


I have had these weathering chalks forever – and if you recognize who made them let me know so I can get more. Recently in MRH I saw someone with the same chalks and made me think to ask here. The colors here are white, grey, and two shades of brown.

Using a knife blade I scratched off chalk over the section I am weathering letting the dust fall where it will. For the dirty edges of the road I am using brown, and for the middle of the road white and grey. Here it is before working it in with a brush:


After the above step I use a trash 2″ brush from any big box store to work the chalk into the roadbed:


On the dirt sections I press the brush down and in circles. It creates a chalk smudge near the edge of the road that matches my dirt that was glued down much earlier. Here is what the smudges look like prior to streaking the road:


Now it is beginning to look like something! It looks like old muddy leftover crud from a rain that washed onto the road – or old dusty dirt that has spilled onto the street. I am not sure that you can overdo something like this. Now for the next step I smudge the chalk into the direction of traffic travel – back and forth until all of the little specks of chalk have been worked into the foam road bed:


In the picture above I tweaked the contrast a bit to exaggerate what you see on the road. Here are more pictures:


I hope that someone else tries this out and has a good experience with it. When I looked at the amount of street I wanted on my railroad and the cost of commercial products, I was either going to do something else less expensive or re-think the whole city approach. Glad I found this inexpensive way to create streets!


February 29, 2012

Paper Scrapers…

Filed under: Uncategorized — mike @ 5:22 pm

I am always looking for alternate methods of creating something. With regard to road material, I have used Creatology Fun Foam, card stock, styrene. For foliage I have used pot toppers, moss, lichen, various Walther’s products, dirt, etc.

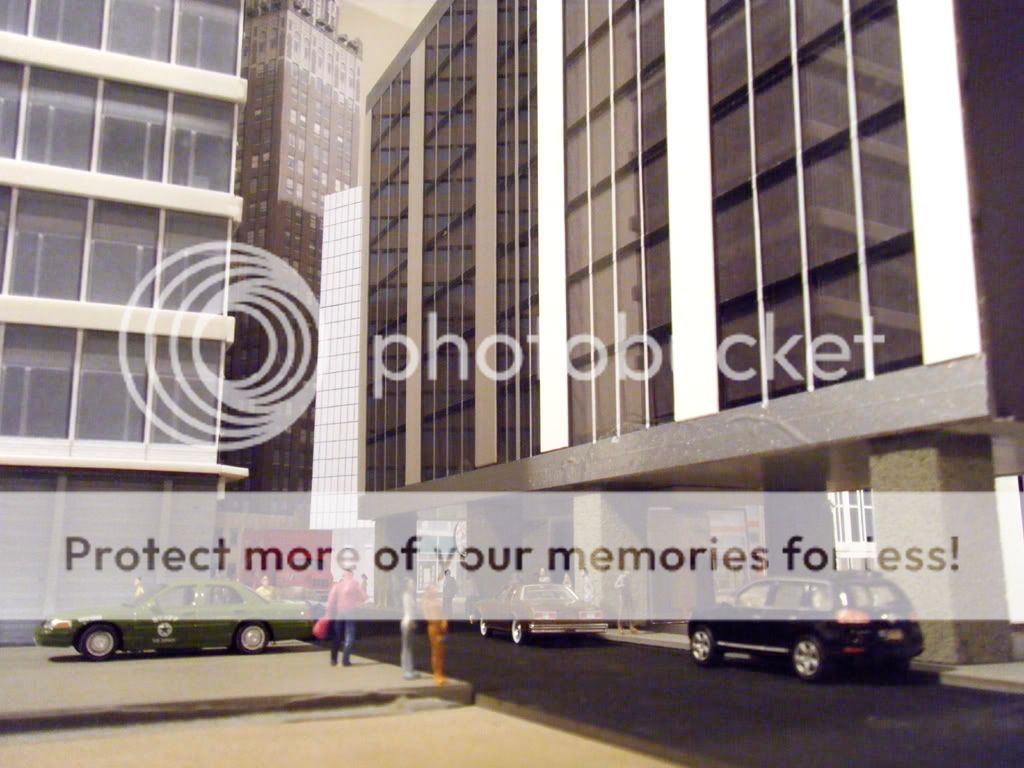
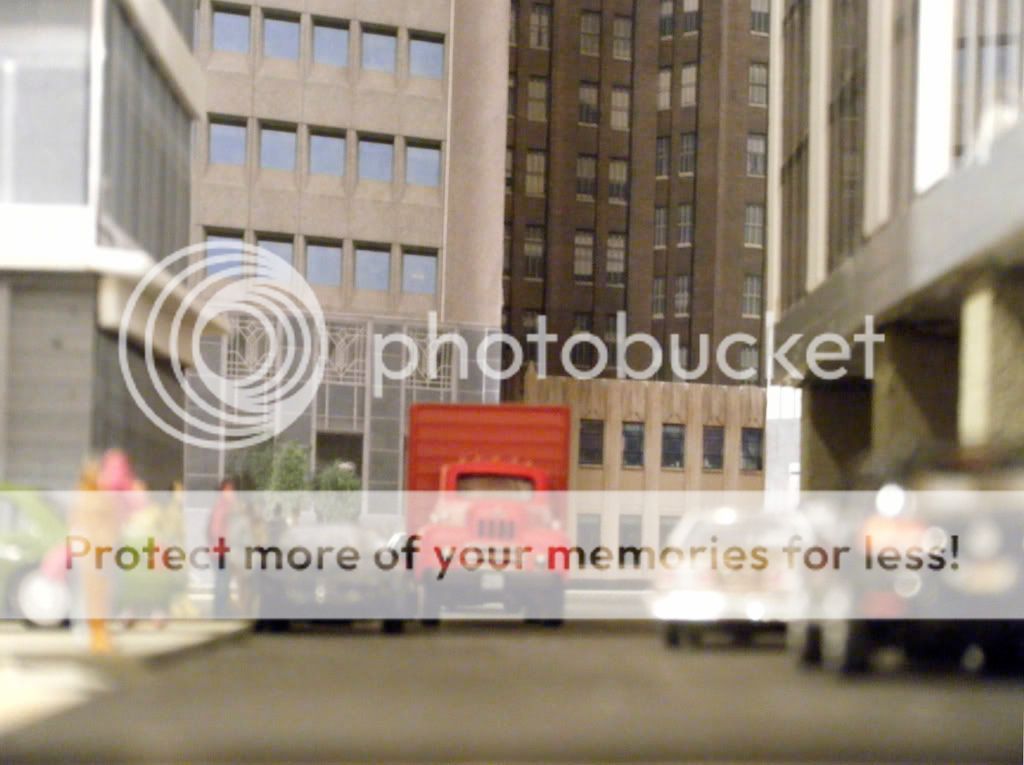
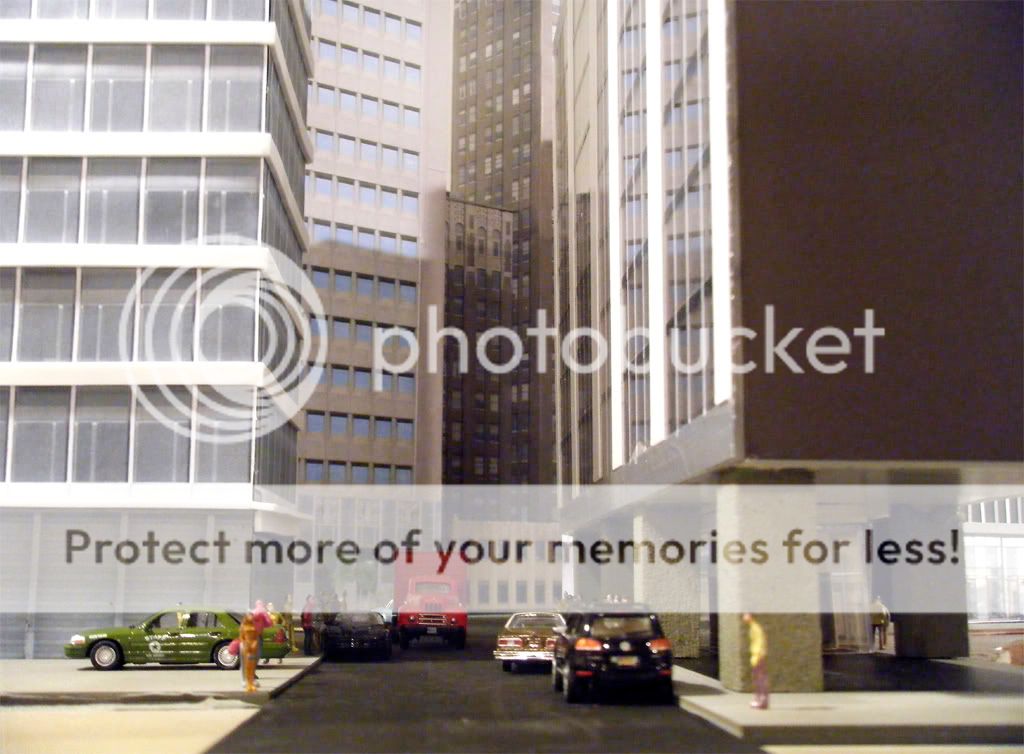
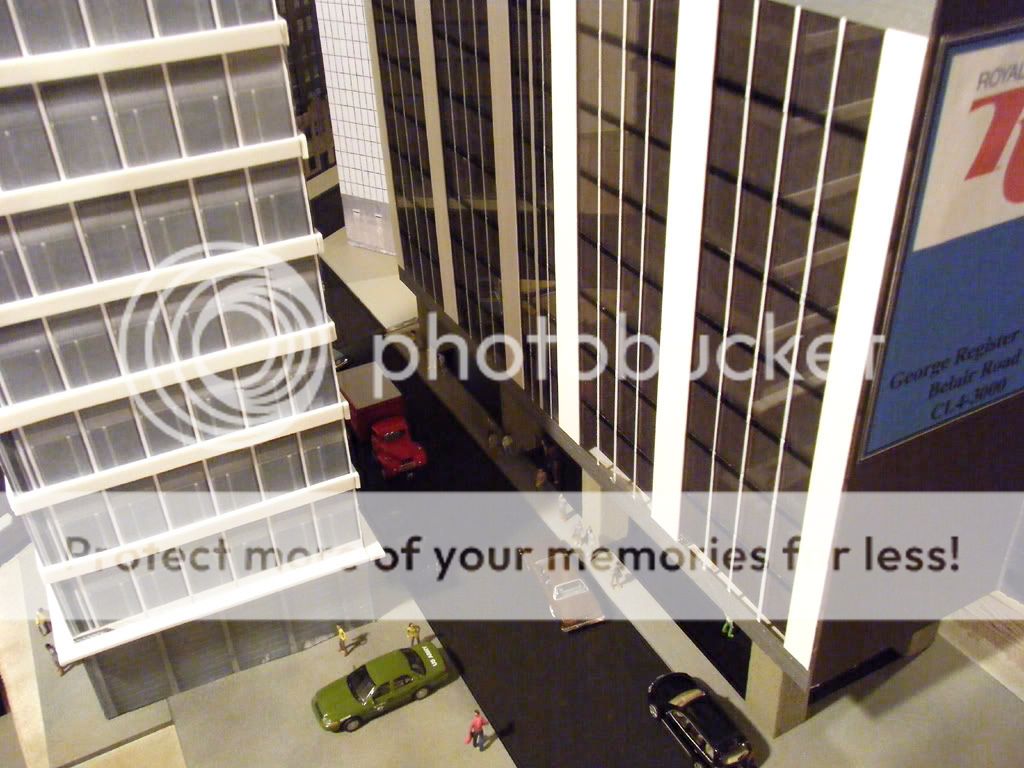
When it comes to buildings, kits are nice but sometimes I need something different. There are few kits to represent taller buildings, so I went on a path to create some of my own structures out of different materials. There are a few buildings that are paper-sheathed over FoamCore:


And sometimes I need something made from PlexiGlas:


This is a reasonable and inexpensive way to create a city and not too time consuming. If you have questions about how these came to be, email me at joppaironworks – AT – yahoo – dot – com

February 18, 2012

FoamCore, cardstock, color prints…..

Filed under: Uncategorized — mike @ 9:58 pm

This is a post I was able to rescue via cached web pages after I changed servers…..

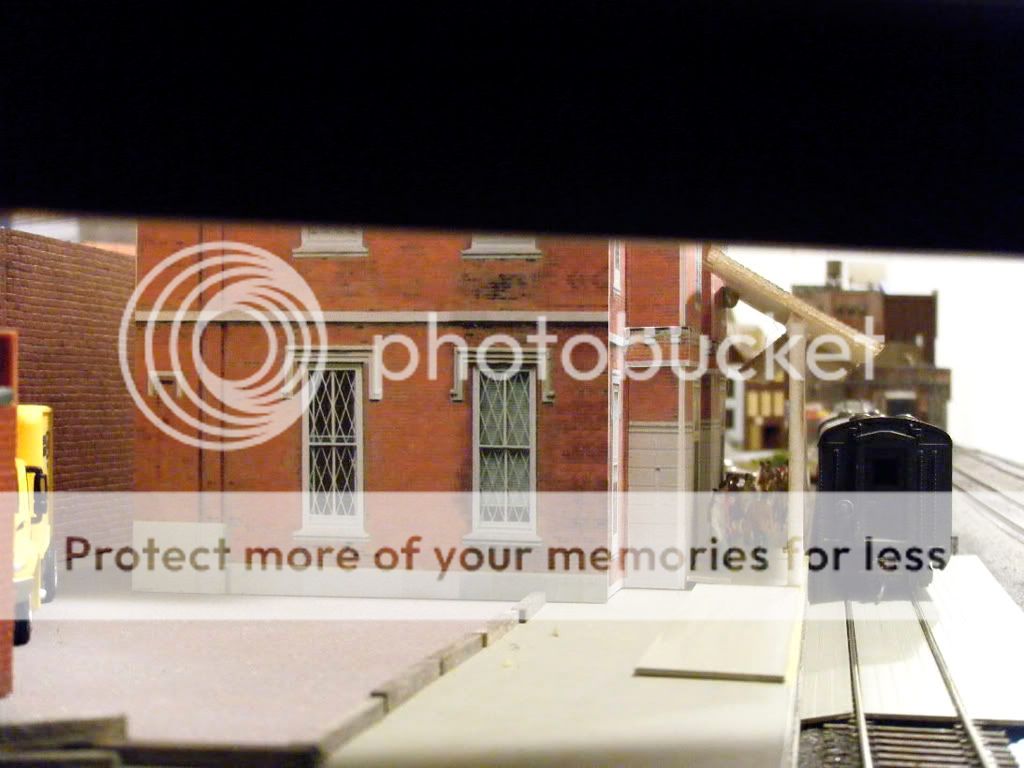
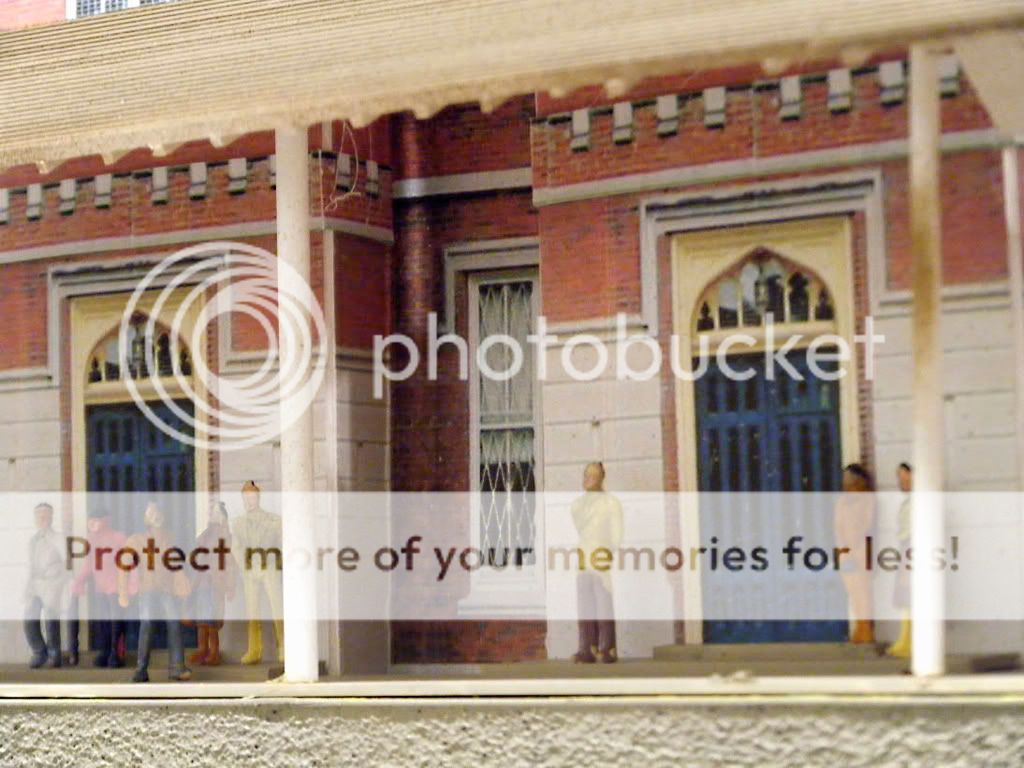
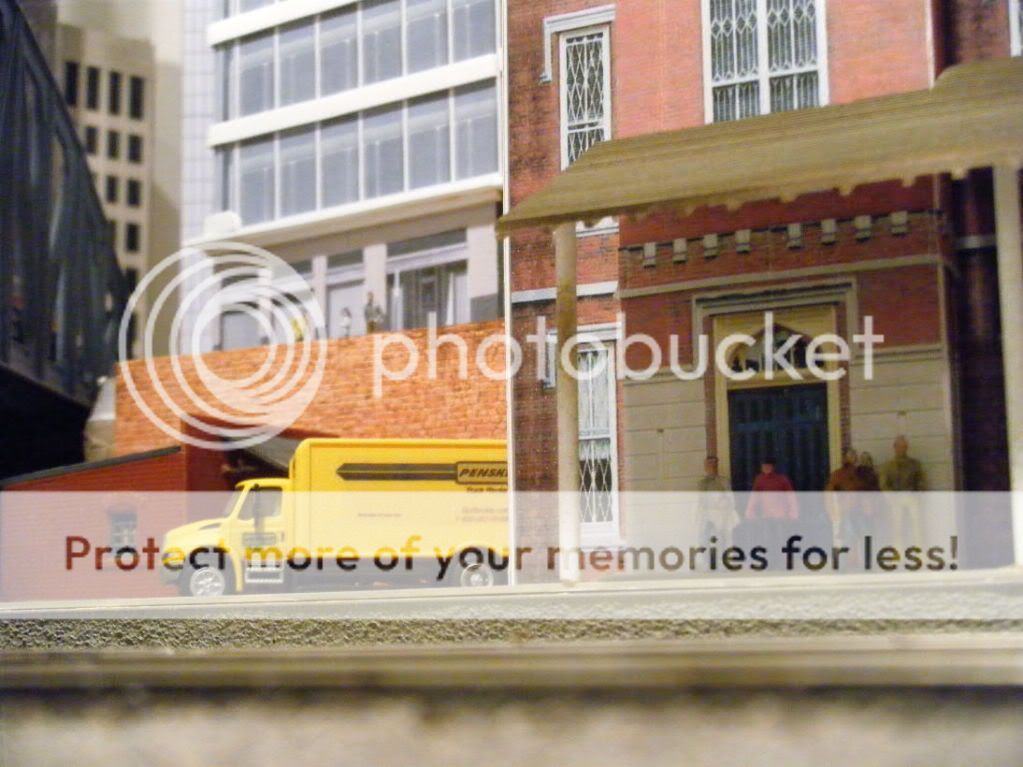
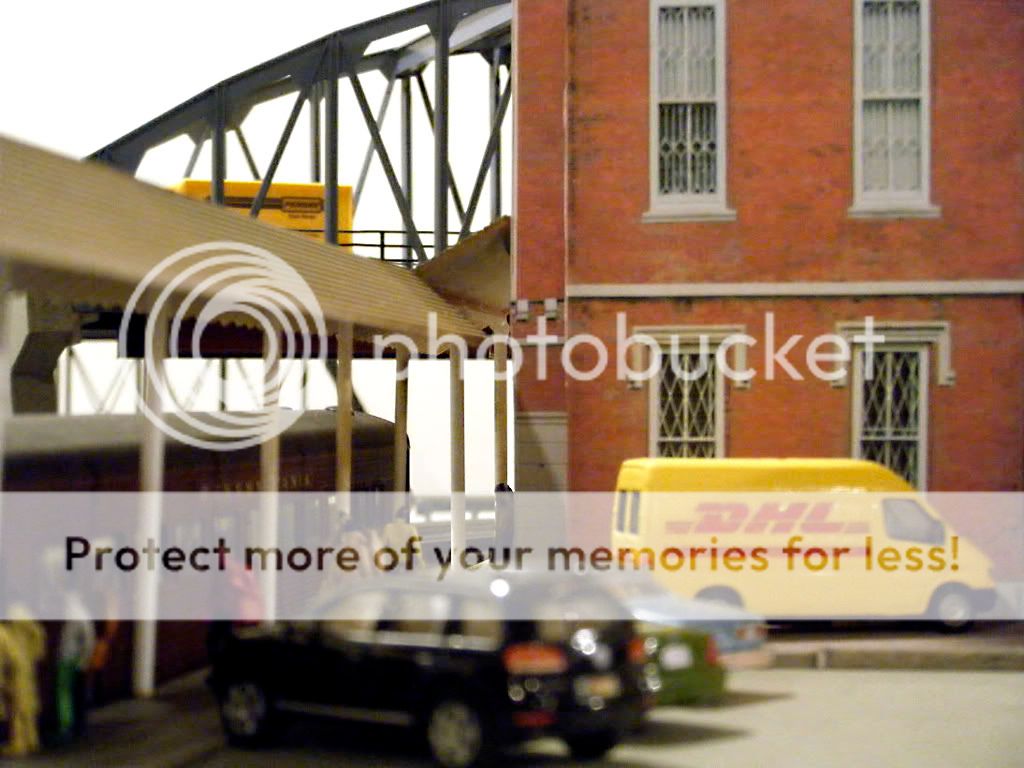
“I have been playing with card stock models for a while now. The layout needed a passenger station and I located an HO scale image for Knox College’s “Old Main” building. It was selectively compressed and not made to plan. The structure is printed surfaces over foam core with a scratchbuilt canopy:

It looks OK in person and in pictures.

This area is not finished. There is a lot of other work that needs to be done as well as weathering…

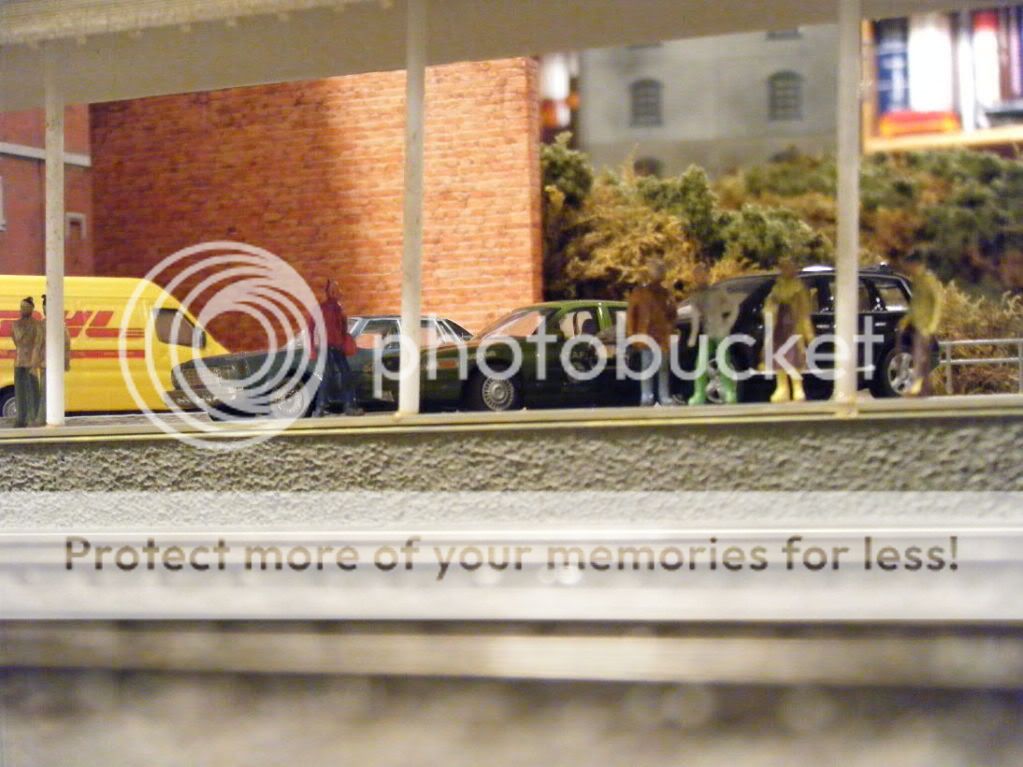
The Penske truck and DHL van started as plain vehicles that I made decals for. Enjoy.

People make the difference….

Filed under: Uncategorized — mike @ 9:55 pm

Sounds corny? I have had few people on my layout over the years basically because they are hard to paint. Enter eBay… a vendor had 100 figures for under five bucks. They are 1/100th scale which close to HO scale, and they work out just fine. I’d always thought that the regular HO figures were a bit big in some cases and after a few quick measurements, my old HO people were all six footers and over! They worked out well enough that I have ordered more of them.

Anyway- these were already painted and I dusted them with black chalk to bring up the details and kill the shine. They are not front line figures, but are great for areas that are arms-length. Here is the first blast of people:

February 17, 2012

Another dose of Fun Foam Roads

Filed under: Uncategorized — mike @ 1:54 pm

Here are a few pics I took of my Creatology Fun Foam roads. I am looking to put together an article for MRH about this.

Below is a bridge that I recently created so that one of my roads didn’t terminate into thin air. It is foam core, wood, Faller railings, and Creatology Fun Foam (UNWEATHERED):


Another close up – not weathered yet:


This is somewhat weathered but uses Highball Cinder to create a look of crumbled macadam:


Patches in the macadam courtesy of a Sharpie marker:


Un weathered but striped with a paint pen from Michael’s Crafts:


A little weathering and more highball cinder for crumbled macadam:


Weathered. Garbage courtesy of my wood stove, shredded paper, and clipped up blue grocery bags that seem to be ubiquitous in the urban landscape:


February 16, 2012

Graffiti

Filed under: Uncategorized — mike @ 8:44 am

Per the Yahoo post, here are pics with decals for graffiti.


February 12, 2012

More mill pictures

Filed under: Uncategorized — mike @ 10:18 am

Web site is being recovered after a crash. Here are pictures that used to be here. This is an ingot buggy that I created from scratch with metal wheels and McHenry couplers. It tracks reasonably straight and rarely sees actual service. It looks just fine in photographs.


This is a detail of the undercarriage of the ingot buggy. Not pretty, but it is functional.


Outside of rolling mill:


A 1960’s type shot of the small diesel that switches cars at the mill.


This shot is complied completely of color prints. The roll up door, the image itself were all printed from PhotoShop and glued to the side of the rolling mill in an area that I though needed an additional detail.


Another shot of the look inside of the rolling mill. The JIW logo was created by Adam Peszel on Rick Rowland’s steel board. That can be found at:  http://todengine.websitetoolbox.com/ You will have to sign up for the site, although the resource is an excellent one.


February 8, 2012

More pictures of the steel mill portion…

Filed under: Uncategorized — mike @ 10:32 pm

My time and attention sometimes ebbs and flows with the railroad- I have a full time job that keeps me busy like a lot of people- so finding extra time can be difficult.

Anyway, I decided to take a few night time shots of my mill and a few have a little Photoshop work to add clouds. I hope that you like them!

Ohio House Restaurant in foam core and paper…

Filed under: Uncategorized — mike @ 10:30 pm

I know that this is a little out of my neighborhood, but I couldn’t resist this. There was a paper stock HO scale file online that I located (not copyrighted) so I printed it out and built it. The shell underneath is black foam core board and the image is printed onto 110lb. cardstock with my HP inkjet.

Anyway, it turned out decent and I will use it. There is a motel attached to it- the property is in downtown Chicago. Here is the site for the real property:

http://ohiohousemotel.com/

Here is the cardstock and foam board model:


« Newer PostsOlder Posts »

Powered by WordPress