The business of Joppa Iron Works was moved for several years to Harford County, Maryland under directorship of my son in law. As his responsibilities migrated, the primary location was returned to the banks of the Gunpowder River several miles from Baltimore, Maryland.
May 10, 2019
September 6, 2018
Back to HO Scale
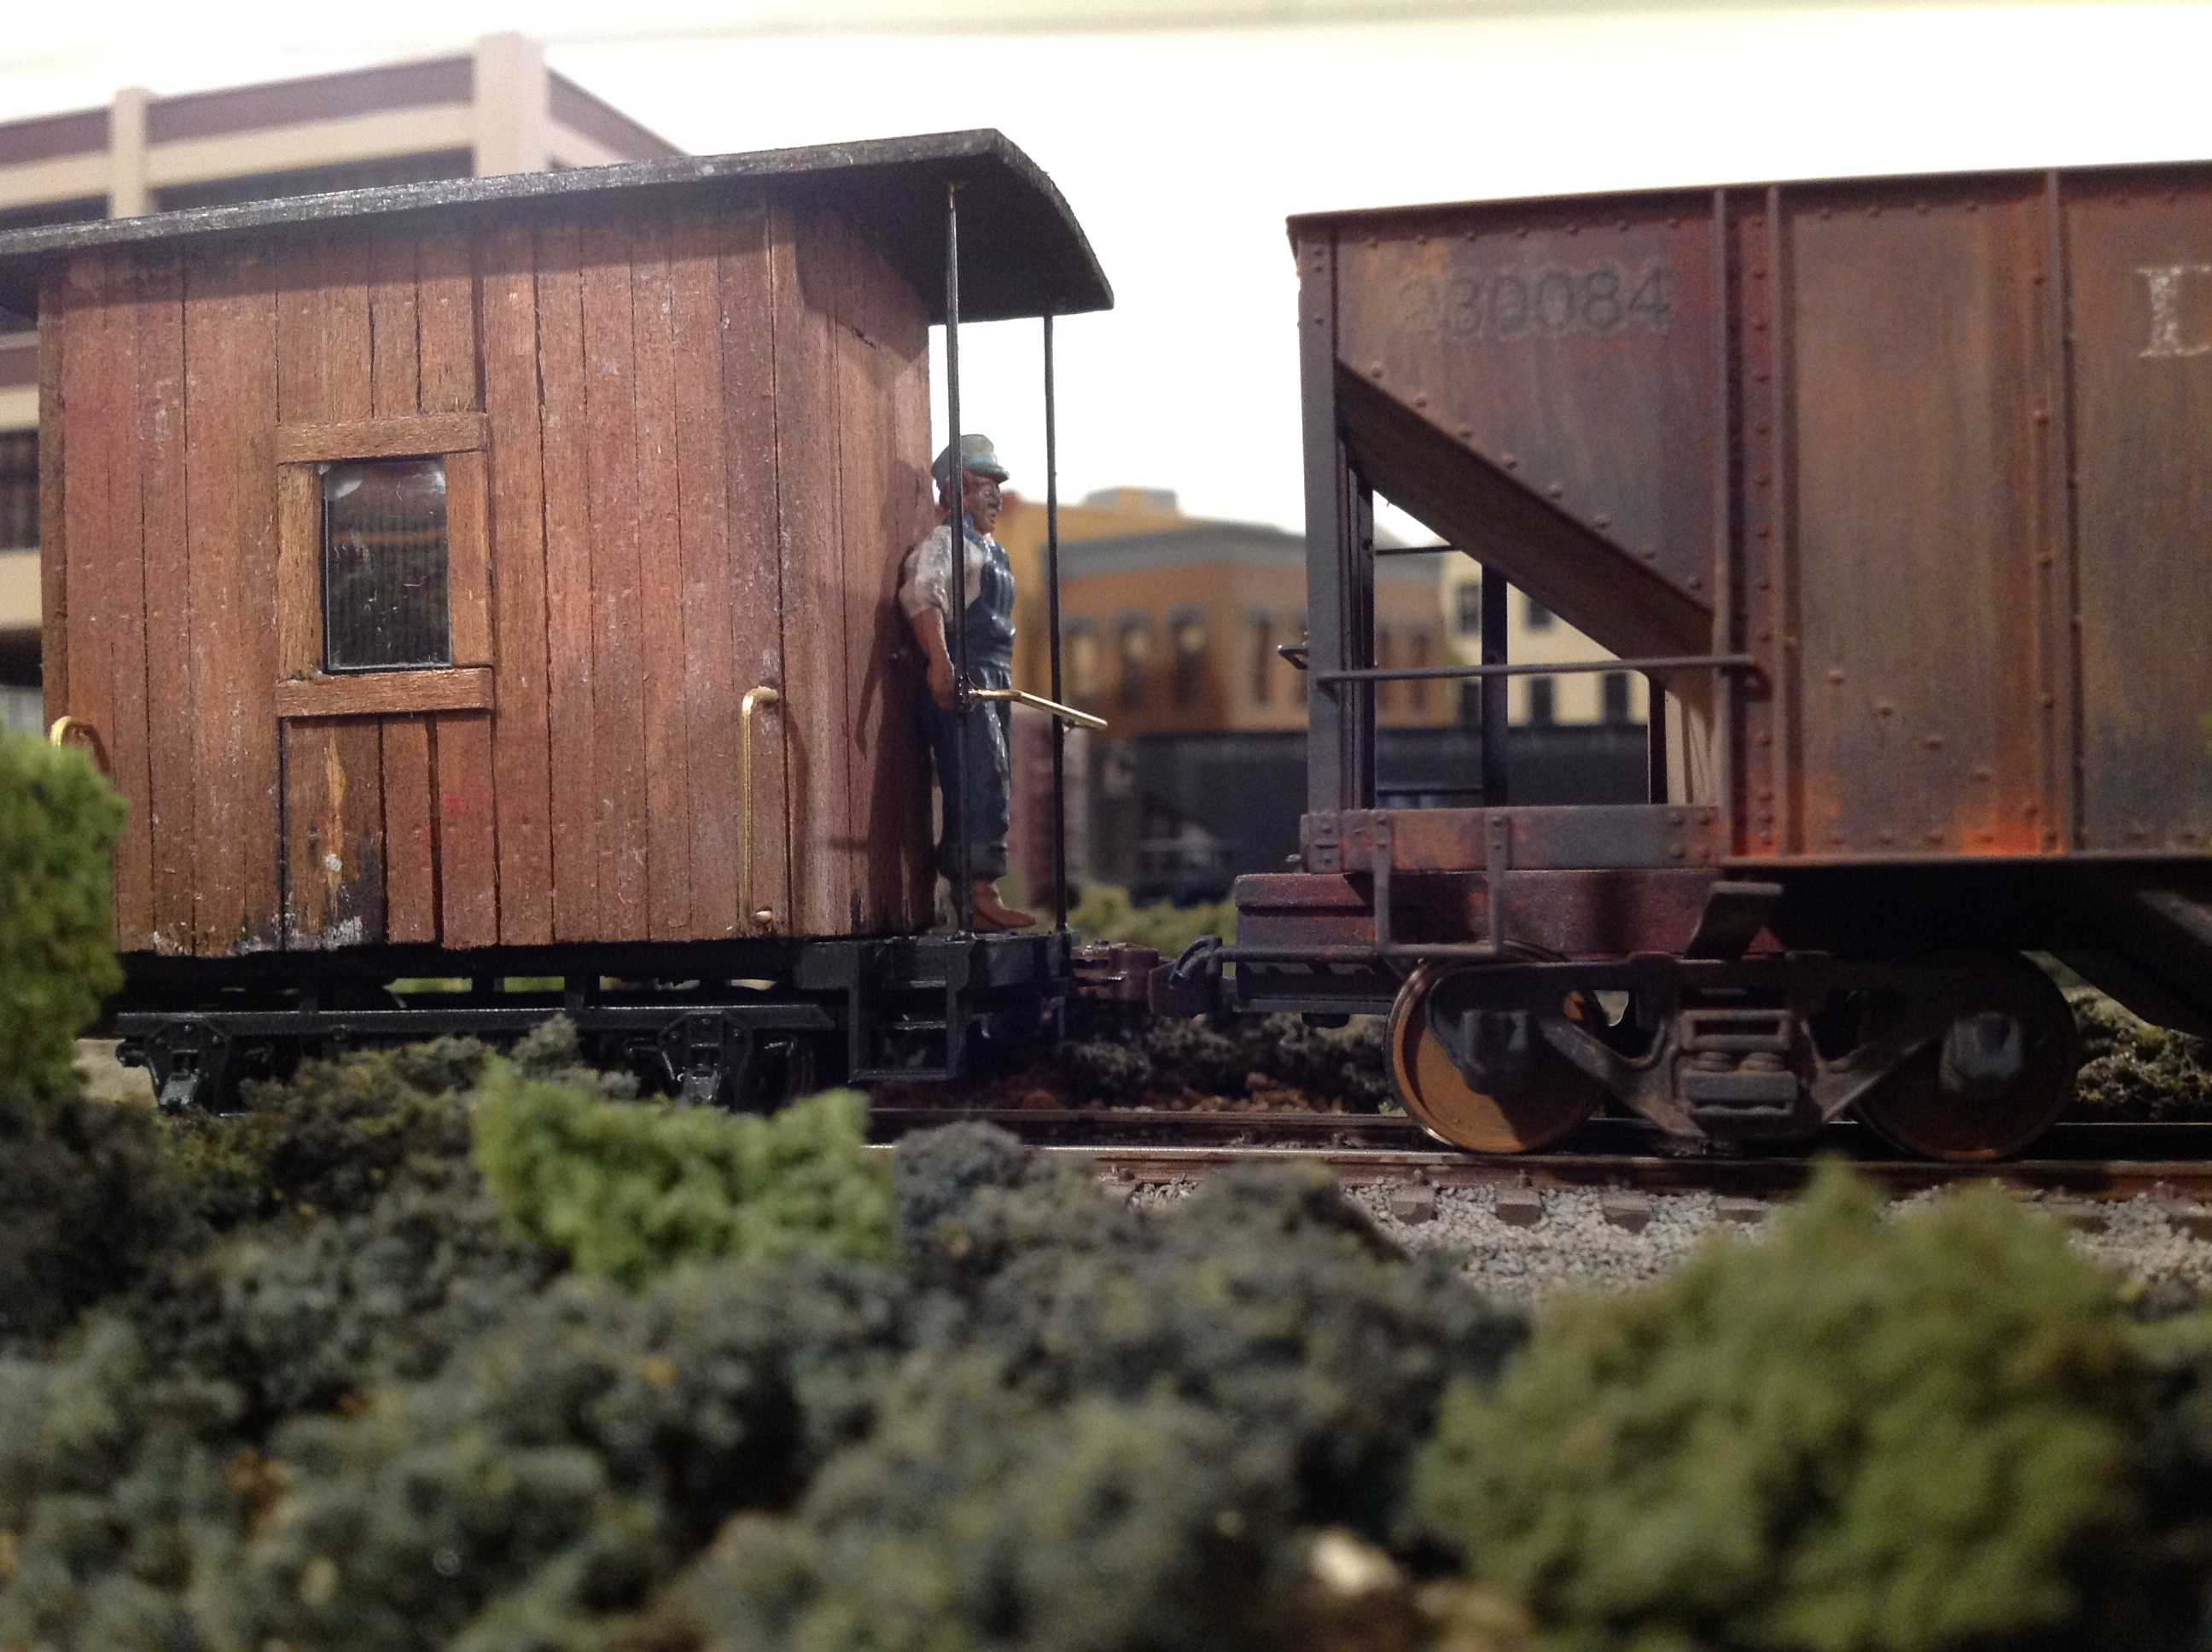
Joppa Iron Works is in full swing and restoration. Circumstances moved the steel mill back to it’s original location. All track is live and scenery is being restored. Pictures coming.
Comments Off on Back to HO Scale
January 4, 2015
On30 on the HO road…
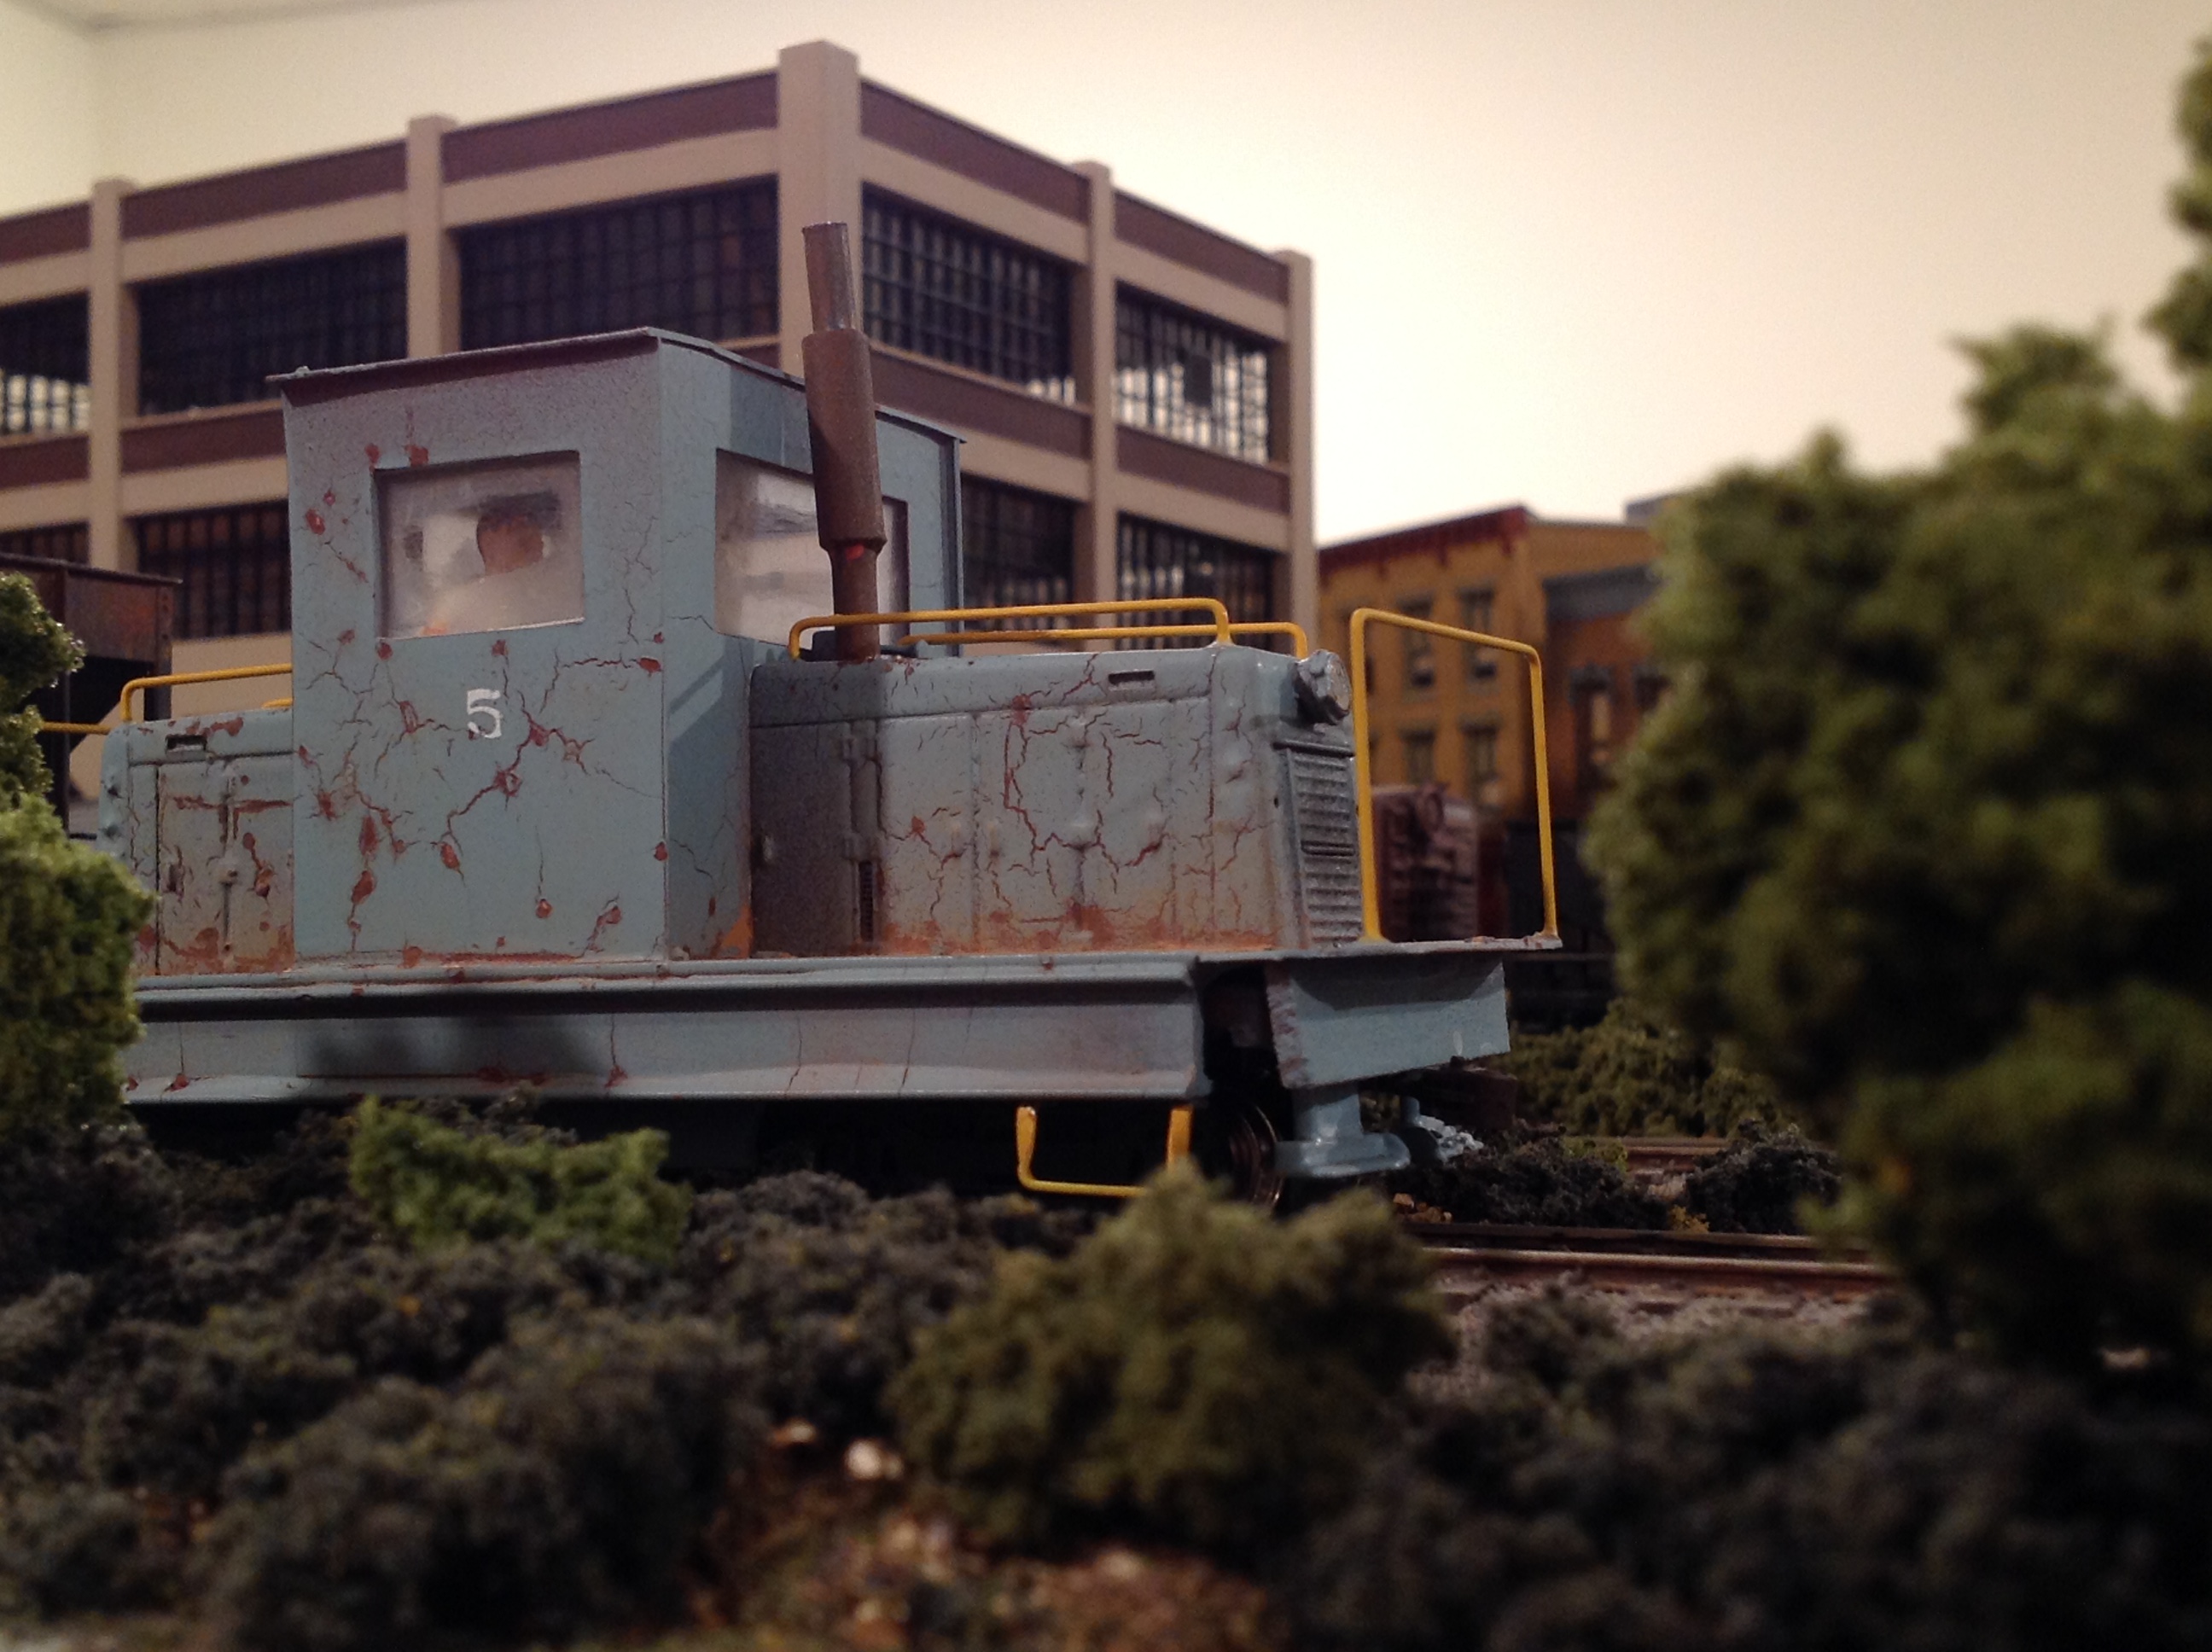
Need to take pics. On30 isn’t done. Next best thing is to photo on the existing railroad.

Comments Off on On30 on the HO road…
December 29, 2014
Working on a Railroad Yet to Appear…
A few things are happening before rails are down. Love rust!

Comments Off on Working on a Railroad Yet to Appear…
Joppa Iron Works Has Moved
The corporate offices have the same address, but all steel making is being moved to Forest Hill, Maryland for better access to the Pennsylvania Railroad.
As the new operations will be underway soon , pictures will appear here when available.
Comments Off on Joppa Iron Works Has Moved
August 25, 2013
On30 is now underway!
Finally benchwork has started. The layout is 72″x42″ and I am concerned that I may have made it too big!

On30 on HO Scale track. There is no reason for me to use On30 stack because I didn’t like how it looked with the trains. Code 100 HO is just fine for me.
Comments Off on On30 is now underway!
December 5, 2012
On30!
I am not forsaking HO scale, but adding a new and exciting chapter to my rail experience.
About a year ago, I started getting the bug to add another small layout, and wanted narrow gauge, but after looking at the very nice models from Blackstone, the sheer small size began to scare me. The Blackstone models are nice and well detailed and I understand that they run flawlessly, but the years are moving on and the use of glasses for close up work is pushing me to model in a larger scale.
The number of new models that seem to be appearing is good news as is the interest in On30. The major player is Bachmann, so I have begun to gather some motive power and freight cars – giving me the motivation to get started on a layout sooner rather than later.
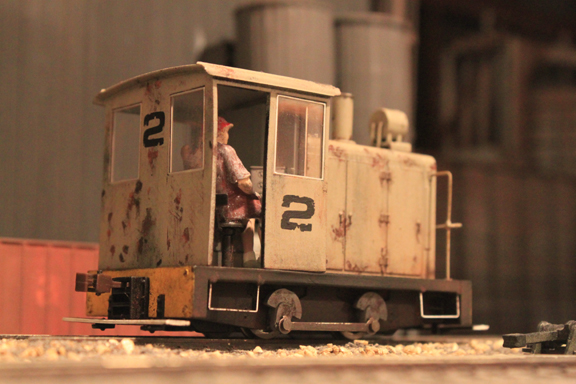
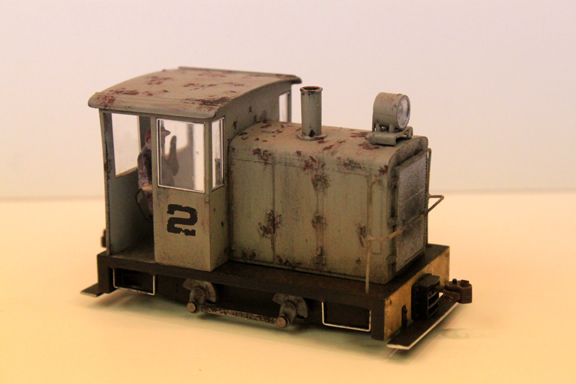
There is a very short shot that I put on YouTube to show my brother on the West Coast my Climax loco. The shot takes place on my HO scale layout, but the foreshortening of the camera on my iPad makes it look just fine! Keep checking back here for more as the layout begins to take shape.
The new layout will be a prequel to the present Joppa Iron Works set somewhere in the 1920’s or earlier. I’d been thinking of the late 1800’s but I want to add vehicles from the teens and twenties.
We’ll see how it works out…
Comments Off on On30!
November 22, 2012
Rejuvination in another size!
Not forsaking HO altogether here, but I am adding another railroad in On30. You will see it come together here.
Thinking of tying everything together. Joppa Iron Works is named after an actual colonial iron works that disbanded in the mid 1800’s. It’s my “what if” in the same general locale basing the story on having the iron works graduate to a steel mill with no finishing capabilities.
On30 may be a good chance for me to back date my story a little without destroying the HO efforts. Iron foundries need a lot of wood, limestone and iron ore. This may give me a chance to have a background railroad.
Since photography is also a hobby, the On30 models are far more photogenic than HO just due to size alone and the focal plane of the camera. They do tend to make you be more detail oriented, but that is part of the fun!
Comments Off on Rejuvination in another size!
Glass Plate Photo Look…
This is the look that I will be striving for in On30 when it happens. This is an update of an older post…
I’ve always liked old glass plate photos. Here are a few samples that I have done from PhotoShop. I’ll post my process of doing this on another page:
The crew at Joppa Iron Works had to create their own slag cars back in the day. This one was photographed outside of the rolling mill.
http://www.mediafire.com/view/03yzh32cjezab28/train%20news%20print.jpg
In town, Habersack’s Cafe has served thirsty customers since the early 1900’s and has a family heritage. The owner had a business relationship with GBS Brewery (which was close by) while many others were outlets for Monumental Beer.
Another old gondola on the grounds of the mill.
These pictures in PhotoShop require a base paper image. You can search for these on a site like Flickr if you type in “Textures” and search for the ones that are represented by old paper. It is interesting to me online that some people have such a hobby of looking for textures.
Comments Off on Glass Plate Photo Look…
March 11, 2012
Jordan Bus finished for now
This is the Jordan kit I started a week ago. Except for the bumpers and maybe a placard on the side for an advertisement, I’m done. The kit went well. The mint green color is an old Baltimore Transit Company color used on its buses until around 1973. I used to ride the 44x to school.
Comments Off on Jordan Bus finished for now